How to Take the Perfect Photo of Your Dog for a Portrait
The Perfect Photo For An Exceptional Portrait 📸
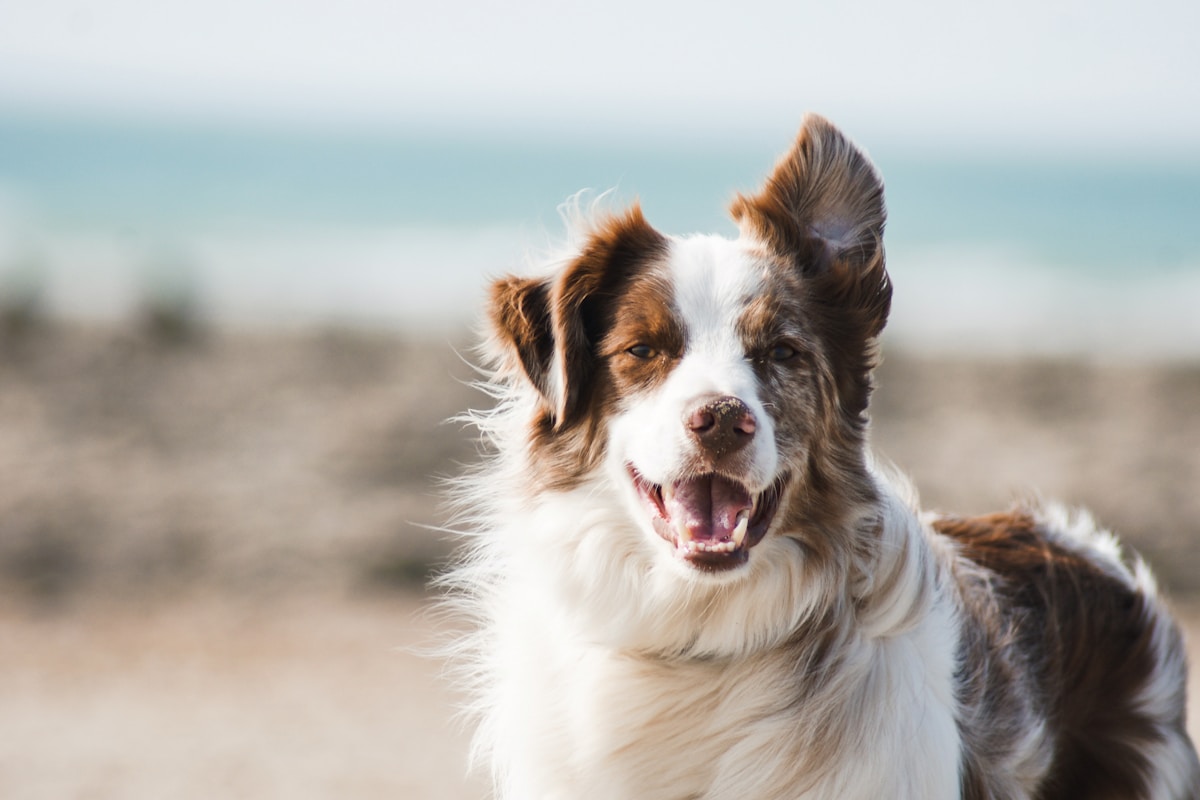
The quality of your personalized portrait depends 90% on the photo you provide. Here are all our professional secrets to capture THE perfect photo of your dog.
1. Light: The Crucial Element ☀️
Natural Light = Magic Result
Best times:
- Morning: 8am-10am (soft warm light)
- Late afternoon: 4pm-6pm (golden hour)
- Cloudy weather: Perfect! Diffused uniform light
Absolutely avoid:
- ❌ Direct flash (red/white eyes)
- ❌ Backlight (your dog becomes a shadow)
- ❌ Midday sun (harsh shadows)
Pro Tips
- Near a window: Place your dog 1-2m from a large window
- Shaded outdoors: Under a tree, covered terrace
- DIY reflector: A white sheet to bounce light
2. Sharpness: Focus on Eyes 👀
Eyes are the soul of the portrait. They must be PERFECTLY sharp.
Portrait Mode
On smartphone:
- Activate Portrait mode
- Tap on the EYES to focus
- Take 5-10 photos (keep only the best)
On camera:
- Aperture priority mode (f/2.8 to f/5.6)
- AF point on nearest eye
- Minimum speed 1/250s (dog moves often)
3. Expression: Capture Their Personality ✨
Each dog has their unique character. Your mission: reveal it!
Attraction Techniques
For a lively gaze:
- Make weird noises (kisses, clicks)
- Wave their favorite toy
- Call their name enthusiastically
For a calm pose:
- Wait until they're tired
- Photo session after a walk
- Treats to reward them
4. Angle: Front or 3/4 📐
Front (Frontal View)
Advantages: ✅ Symmetrical and balanced ✅ Very expressive direct gaze ✅ Ideal for classic portraits
How:
- Get down to their level (on the ground if necessary)
- Lens at 50cm-1m
- Center the face well
3/4 (Slightly Sideways)
Advantages: ✅ More depth ✅ Very elegant "magazine" effect ✅ Highlights facial features
How:
- Turn dog's head slightly (30-45°)
- Keep both eyes visible
- Natural relaxed position
5. Framing: Simple and Clean 🖼️
Golden Rule
Fill the frame:
- Face occupies 70-80% of photo
- Not too much empty space around
- Focus on head and shoulders
Neutral Background
Ideal:
- Plain wall (white, beige, gray)
- Blurred nature (bokeh)
- Dark background for light dog (and vice versa)
Avoid:
- Distracting objects behind
- Garish colors
- Lines cutting through the head
Pre-Shoot Checklist 📋
Before starting your photo session, check:
- [ ] Sufficient natural light
- [ ] Neutral clear background
- [ ] Calm relaxed dog
- [ ] Toys/treats within reach
- [ ] Portrait mode activated
- [ ] Clean lens (no smudges)
- [ ] Charged battery
Common Mistakes to Avoid ⚠️
1. Blurry Photo
Causes:
- Insufficient light
- Dog moving
- Shaky hand
Solution: Take 10+ photos, increase light
2. Closed Eyes
Causes:
- Photo taken during a blink
Solution: Burst mode (5 photos/second)
3. Cut Ears
Causes:
- Too tight framing
Solution: Leave margin around head
After Session: Selection 🎯
How to choose THE photo:
- Sharpness: Zoom on eyes at 100%
- Expression: The one that makes you smile
- Light: Well-lit face, no harsh shadows
- Composition: Balanced framing
Send 2-3 photos to our artists. We'll help you choose the best!
Ready to shoot? Follow these tips and you'll have THE perfect photo for a sublime portrait! 📸✨

